
Last updated November 21, 2026
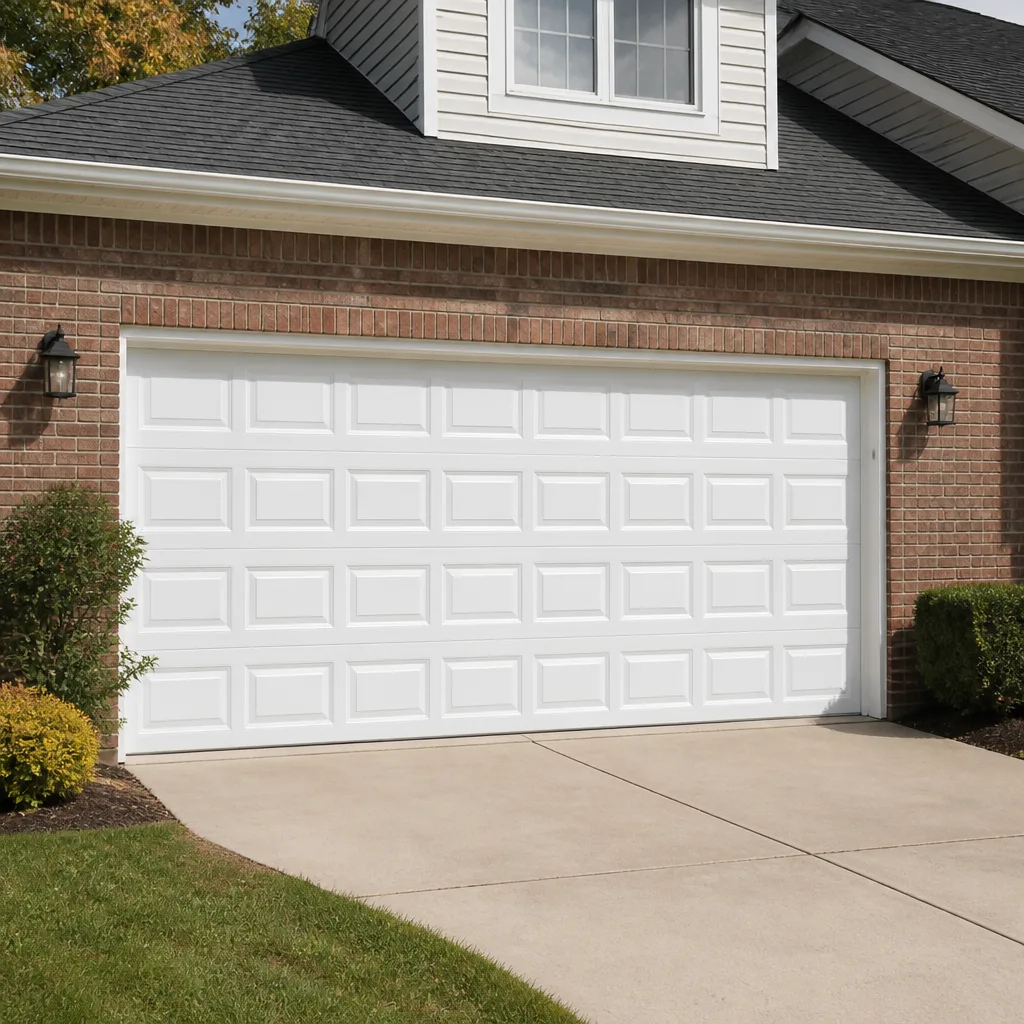 Raised-panel steel
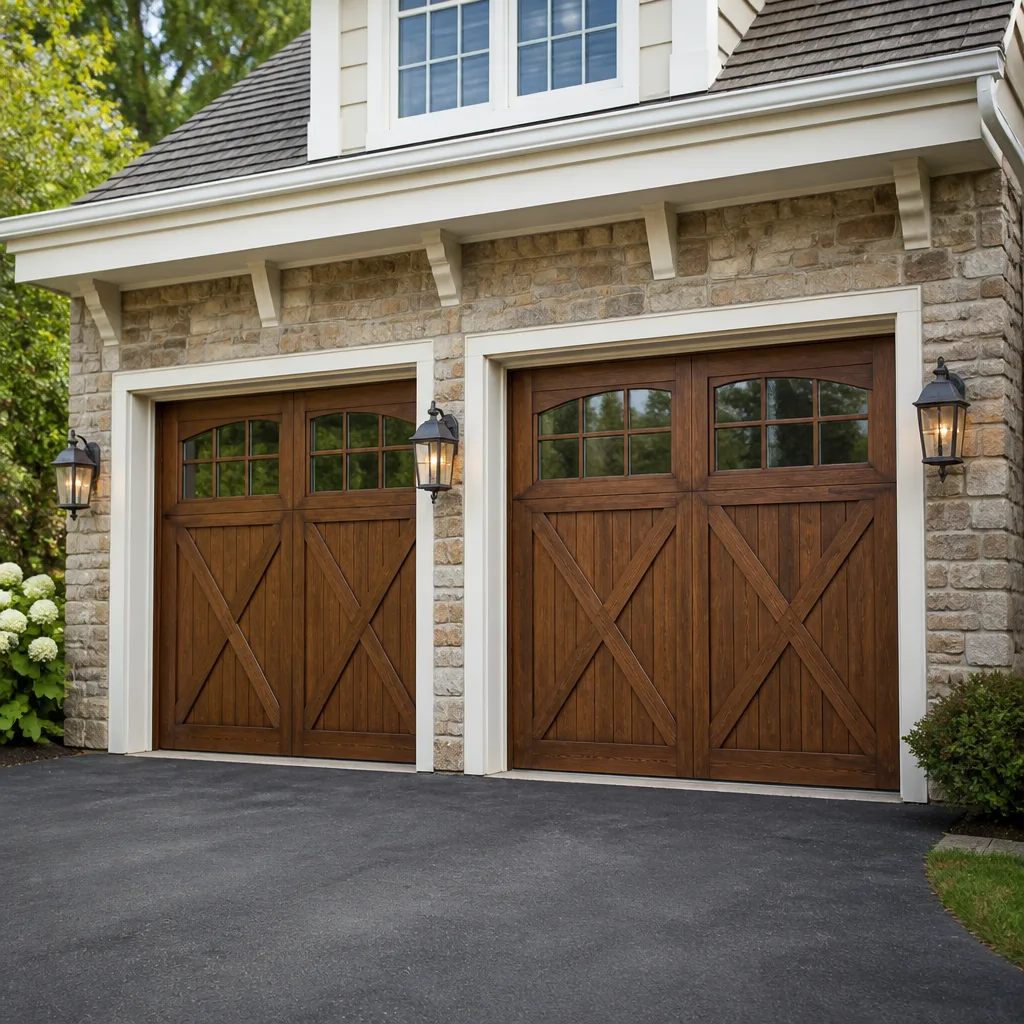 Carriage house
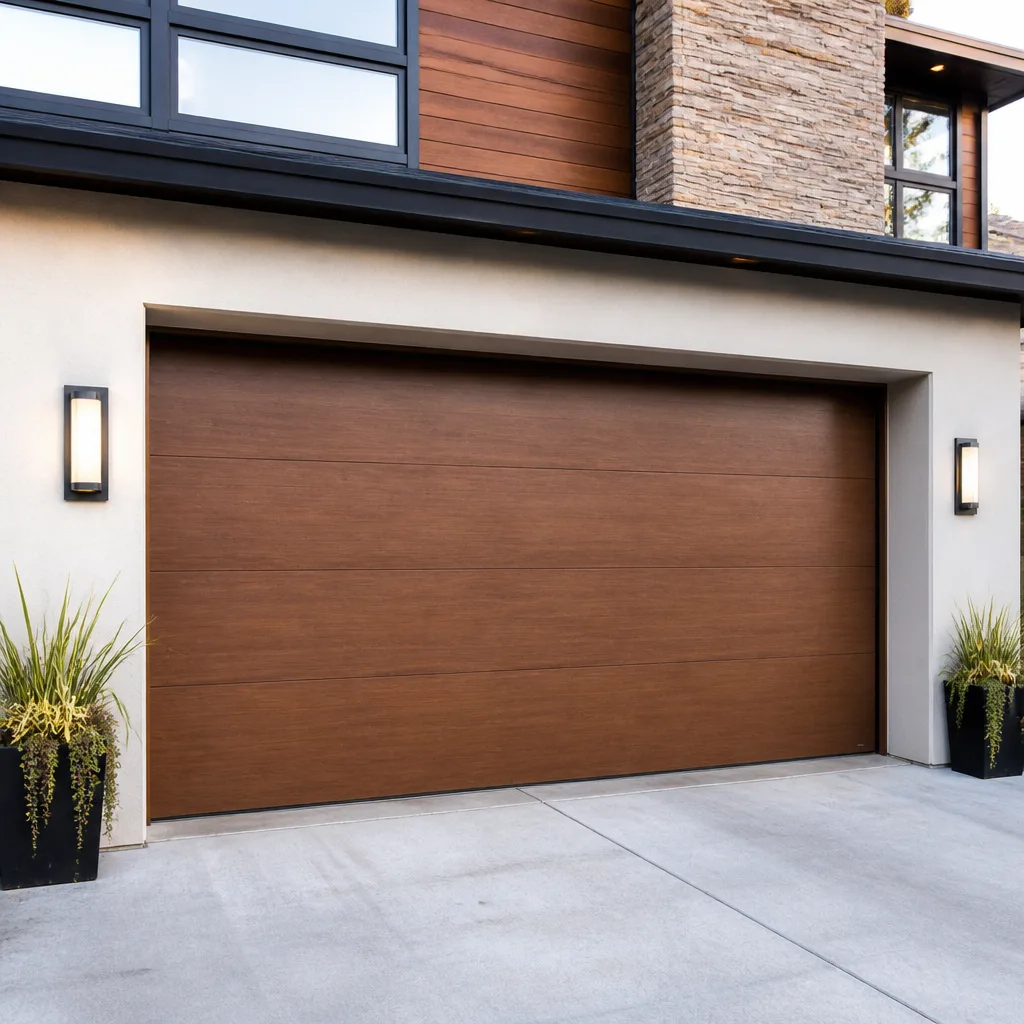 Modern flush
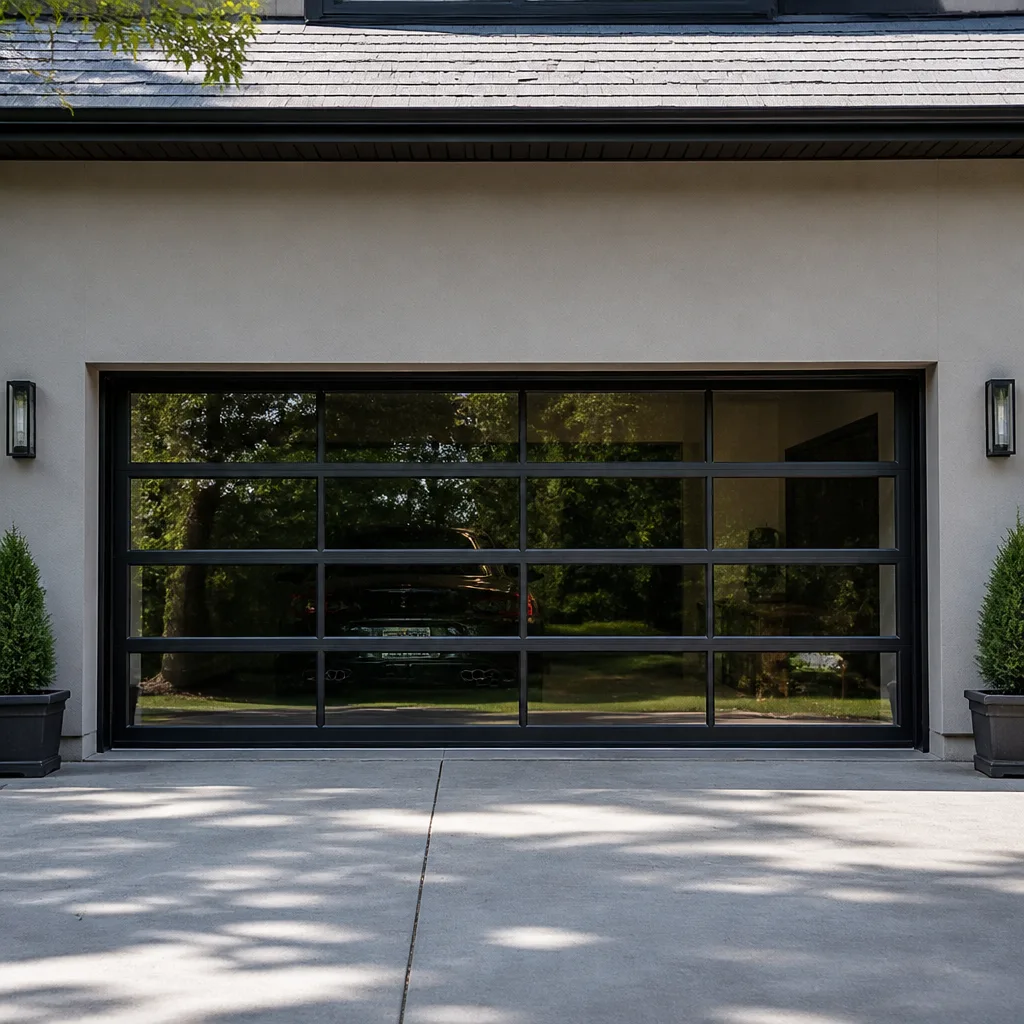 Full-view glass
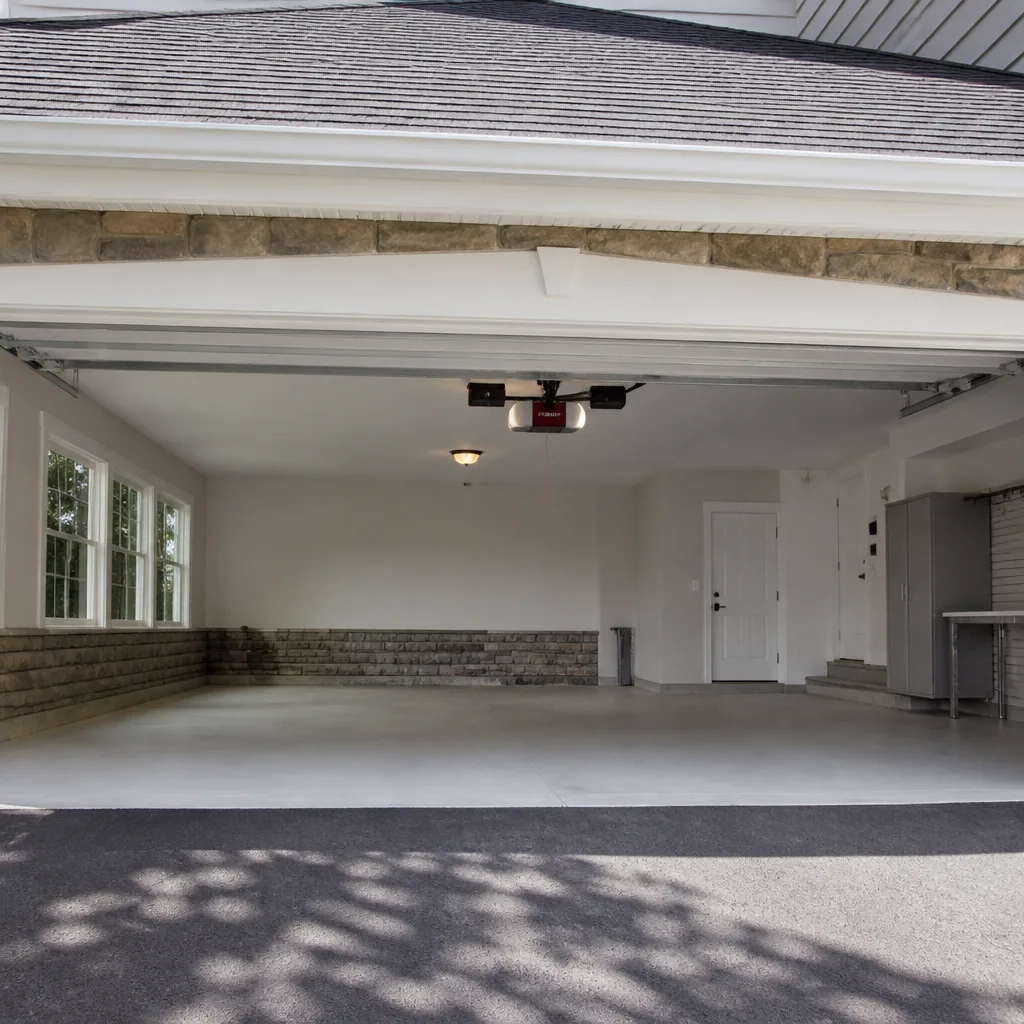 LiftMaster openers
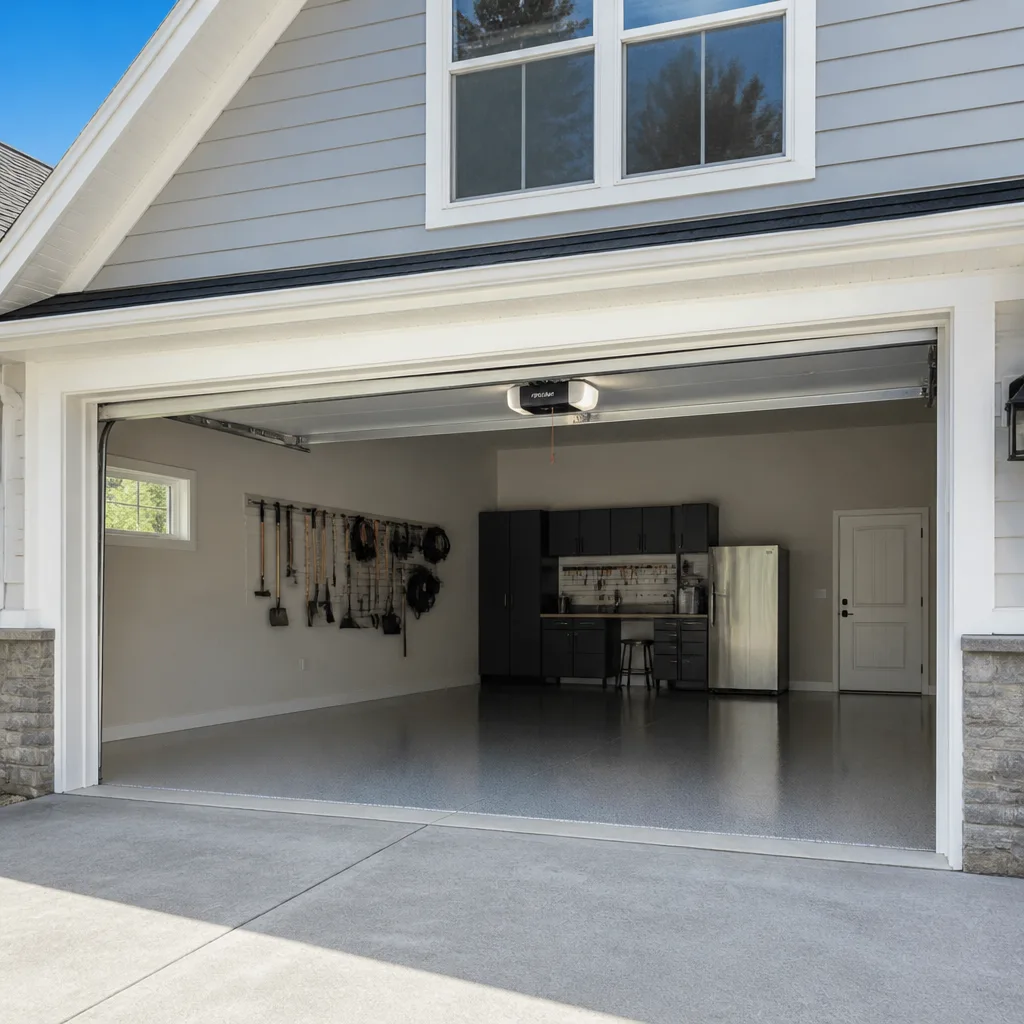 Chamberlain openers
Full 25-point door and opener safety check with every visit - springs, cables, rollers, tracks, and your LiftMaster or Chamberlain opener included
You get a price before we start. It does not change when the pro arrives.
Get your free estimateGarage Door Repair Maintenance Checklist for Logan Square Homeowners
Most garage door advice you’ll read online assumes a suburban driveway and a heated garage. Logan Square isn’t that. Here, doors sit behind brick gangways on narrow lots, face gravel alleys instead of paved driveways, and ride out freeze-thaw cycles that work on steel and rubber all winter long. The failure that actually strands a car here usually isn’t dramatic – it’s a slow, seasonal grind that a homeowner could’ve caught months earlier with a flashlight and ten minutes. This guide walks through a maintenance checklist built around how doors actually fail in Logan Square: month by month, part by part, with the lubrication rules most people get backwards.
Styles & brands we work with
- Raised-panel steel
- Carriage house
- Modern flush
- Full-view glass
- LiftMaster openers
- Chamberlain openers
Quick Answer
A garage door maintenance checklist for Logan Square should center on four things: monthly cleaning of alley grit from the bottom rollers and track, correct lubrication of springs, hinges and rollers (and never the rubber seal or photo-eye lenses), a five-point monthly safety test, and a pre-winter inspection of the torsion spring for rust pitting and lost wind strength. Do the seasonal deep-checks in late fall and early spring, and the quick safety test once a month, and most of the repairs we’re called for become far less likely.
Table of Contents
- Why Logan Square Garage Doors Fail Differently
- The Month-by-Month Task Cadence
- The Correct Lubrication Protocol (and What Never Gets Lubricated)
- Inspecting Your Torsion Spring Before It Fails
- Alley Grit: Checks Specific to Logan Square Alleys
- The Five-Point Monthly Safety Test
- Opener Checks for LiftMaster, Chamberlain, and Genie Units
- Pre-Winter and Post-Winter Deep Checks
- Common Mistakes to Avoid
- When to Call a Professional
- Frequently Asked Questions
- The Bottom Line
Why Logan Square Garage Doors Fail Differently
Logan Square garages were mostly built to face alleys, on narrow lots where the door sits close to the property line and everything thrown off a car tire or a plow blade ends up in the same four square feet of track. That geography is the first thing that makes maintenance here different from a checklist written for a suburban house.
The second is the housing stock. A lot of the brick two-flats and single-family homes in Logan Square have garages that are decades old, and many still carry their original or first-replacement torsion spring hardware. Older steel pits and corrodes in ways that are invisible until a spring snaps. The combination of older hardware and Chicago’s freeze-thaw cycling is what turns a slow problem into a morning call.
Freeze-thaw is the third factor and the one most checklists ignore. Water gets into the bottom weather seal, into the roller cups, and behind the track brackets. Overnight it freezes and expands. By morning, a seal that was supple in October is a hard, torn strip that catches on the door and can bind the whole lift mechanism. If you’ve forced a door open on a cold morning and heard a pop from the drum, you already know this pattern. That’s the specific scenario our Garage Door Repair Logan Square technicians see most in January, and it’s preventable with a few minutes in November.
None of this means your door is fragile. It means the maintenance priorities here should follow the local stress points instead of a generic spring-and-fall calendar.
The Month-by-Month Task Cadence
Generic garage door advice tells you to “check in spring and fall.” That’s too coarse for a Chicago climate where the door itself experiences the sharpest temperature swings in October and March. Here’s the cadence we recommend for a Logan Square door, tied to when each component is actually under stress.
- January through February: Monthly safety test and a quick visual check of the bottom seal for tearing. Cold is the hardest season on rubber seals and cable drums. Keep the track clear of ice and grit buildup at the threshold.
- March through April: First deep check of the year. Inspect the torsion spring for rust pitting, clean the bottom roller cups, and inspect the track for the grit and gravel that accumulated over the winter. Balance test the door once the seal has warmed up.
- May through June: Lubrication refresh. Apply silicone spray to the torsion spring, lithium grease to the hinges and bearing plates, and check the opener’s force limits after a season of temperature change. This is a good month for a full visual inspection of the tracks for bowing.
- July through August: Monthly safety test only. This is the quiet season for a door – the heat can make seals swell (a stuck door in July often traces back to a seal that’s binding). Watch for roller noise that wasn’t there in spring.
- September through October: The critical pre-winter pass. Clean the seal and condition or replace it if it’s hardened. Re-lubricate the spring, hinges and rollers. Check the opener’s balance and force settings now, before the door has to fight cold temperatures. Inspect the torsion spring wind count and spring for rust pitting.
- November through December: Final winter prep. Clear alley debris from the track bottoms, check the bottom seal where it meets the concrete, and confirm the photo-eyes are aligned. Verify that the manual disconnect works and that the door can be lifted by hand if the opener fails.
If you only do four things a year, make it the October deep pass, the March deep pass, the two-lubrication refreshes in between, and the monthly safety test. Everything else is a bonus. If your garage door repair history includes a spring failure in the last couple of years, add an extra spring inspection in October.
The Correct Lubrication Protocol (and What Never Gets Lubricated)
Lubrication is the one task where more people cause their own problems than solve them. The rule is simple: lubricate metal-on-metal contact points, and never lubricate rubber, plastic, or optical parts. Here’s the split.
What gets lithium grease
- Hinges, at every knuckle where the roller shaft passes through.
- Bearing plates and the center bearing on a torsion setup.
- The roller shafts themselves where they meet the hinge, not the roller wheels.
- Any exposed steel on the opener rail where the trolley rides (a thin film, not a coat).
What gets silicone spray
- The torsion spring (a light coat along the coils to keep out moisture and reduce friction as the coils work against each other).
- Extension spring coils, if you have them.
- Nylon rollers and the hinge pins where they move freely (silicone won’t attract grit the way grease does).
What never gets lubricated
- The bottom weather seal. Rubber needs a silicone conditioner or a replacement, never grease. Lubricated rubber becomes a grit magnet that tears itself apart.
- Photo-eye lenses. A film of spray turns the lens into a dust trap, and the opener thinks something is in the way. Wipe with a dry cloth instead.
- The travel limit set screws and opener electronics. Keep any lubricant away from the opener housing.
Two more rules. Don’t spray a heavy coat – a light film is all that’s needed, and excess grease collects Chicago alley grit and turns into an abrasive paste. And don’t lubricate a spring that’s already visibly cracked or pitted, expecting lubrication to save it; that spring is done, and it should be handled by a trained technician rather than worked on at home.
Inspecting Your Torsion Spring Before It Fails
The torsion spring is the single component that most often converts a minor issue into a morning with a car stuck inside. It’s also the component homeowners are told the least about. You can’t safely work on a torsion spring yourself – the stored energy in a wound spring can cause serious injury, and this is exactly the repair most generalist handymen decline. But you can inspect it, and inspection often catches the failure before it happens.
A standard 2-inch torsion spring is what most Logan Square doors carry. Here’s what to look for, safely, from below with the door closed on the ground:
- Look for rust pitting. Small rust spots are surface-level and mostly harmless. Pitting looks like the surface has been eaten into – dark craters, flaking metal, or visible thinning along the coil. That’s a spring that’s lost material and is closer to failure than its age suggests.
- Look for gaps between coils. When the door is fully closed, the coils should sit evenly and close together. A spring with stretched or spaced-out coils has lost tension and will lift the door weakly.
- Count the paint marks and wind direction. Most springs come with a paint stripe indicating wind strength and direction. If the color has faded or the marks are gone, note that in your inspection log – it’s information the technician will need when quoting a replacement.
- Look at the spring wind count (or have a technician measure it). A torsion spring’s lift capacity is set by how many turns were put on it at installation. If the door has become noticeably heavier to lift by hand, the wind count may be too low for the door’s weight, or the spring has relaxed.
- Check for grease at the spring ends. A leak at the spring bearing is one way to spot a spring that’s starting to fail. A bit of grease is normal; a fresh, shiny smear is not.
If you find pitting, broken coils, or a door that has become noticeably heavier, that’s a call we make every day – garage door opener repair and spring work are both on our core service list, and our technicians are trained for high-tension hardware. We’d rather inspect a spring in October than replace a broken one in January.
Alley Grit: Checks Specific to Logan Square Alleys
If you live on a Logan Square block with an alley behind the garage, your door picks up gravel the way a suburban door simply doesn’t. Alley paving breaks down, plows push grit against the door, and every time you open the door after a storm you’re drawing that material into the track and the bottom roller cups.
Here’s what to check specifically:
- Bottom roller cups. These are the little brackets at the very bottom of the door where the roller sits. They collect gravel like a pocket. Lift the door a few feet and sweep the cups out with a hand broom. Grit in the cup turns every open and close into a grinding action.
- Track bottoms. The lowest 18 inches of each vertical track is where debris lands. Clear it with a rag. This matters most after a storm or a plow pass in winter.
- The threshold. The strip of concrete under the door collects gravel that then gets dragged under the seal and into the garage. Sweep it when you sweep the alley-facing apron.
- Track brackets. Grit gets packed behind the brackets that hold the vertical track to the wall. A small buildup there can bow the track slightly out of alignment over time.
This is the part of the checklist that most garage door guides leave out. In Logan Square, it’s one of the most useful five-minute maintenance tasks you can do, especially after winter plowing and after any major rain event.
The Five-Point Monthly Safety Test
This is the test that catches the things lubrication can’t. Run it once a month. It takes about ten minutes, and every part of it has a clear pass or fail.
- Force limit. Place a piece of 2×4 lumber flat on the floor in the door’s path and close the door. It should reverse immediately upon contact with the wood. Fail means the door is pushing too hard to sense an obstacle – that’s a setting to correct.
- Auto-reverse. With the door open, hold your hand under the door edge and press the wall control to close. The door should reverse as soon as your hand meets the door edge. Fail means the opener’s force sensing is off or the door is binding and the opener can’t lift it back.
- Manual disconnect. Pull the red release handle to disconnect the door from the opener. The door should lift smoothly by hand (a well-adjusted door lifts with one hand) and settle back down without slamming. Fail means the springs, rollers, or track are out of balance – and that’s a call to make.
- Photo-eye alignment. Both lenses should have a steady indicator light. Break the beam with your hand and the door should refuse to close. A blinking or dark light means misalignment or a dirty lens – wipe with a dry cloth and check again.
- Balance test. With the door disconnected from the opener, lift it to about halfway and let go. It should hold its position. A door that drifts up means the springs are overpowered; one that drifts down means they’re weak. Either way, the spring tension needs adjusting by a technician.
If any one of the five points fails, stop and treat the door as out of service until it’s fixed. A door that fails the auto-reverse test is a real safety concern, especially in a household with kids or pets.
Opener Checks for LiftMaster, Chamberlain, and Genie Units
The mechanical side of the door gets all the attention, and the opener is the part that fails quietly. We work on LiftMaster, Chamberlain, Genie, Craftsman, and Raynor openers – which covers most of what we see on Logan Square doors – and the diagnostic tasks are similar across all of them.
- Check the wall control’s behavior monthly. If the door opens from the wall control but not the remote, the remote is the issue (battery, pairing, or a damaged button). If neither works but the opener runs, the safety sensors or wiring are the likely cause.
- Look for the opener drawing heat or clicking without moving. On a LiftMaster or Chamberlain unit, that’s usually a capacitor or logic board issue. A technician can verify by testing the opener directly rather than guessing.
- Listen for the opener running hard. A door that’s binding on the track forces the opener to work harder and shortens its life. If you hear the motor straining, fix the door, not the opener.
- On a Genie or Craftsman unit, check the safety sensor alignment first when the door doesn’t respond. These models can be finicky about a lens that’s been sprayed with cleaner.
- Smart-home features: if you have a WiFi-enabled opener, check that the app reports the door status correctly. A door that shows “closed” when it’s open usually needs a limit switch adjustment, not an app fix.
Opener repair is a common call for us, and the diagnosis usually takes less time than the homeowner spent worrying about it. If the door runs but the opener doesn’t respond, our garage door opener repair technicians can test the motor, logic board, and sensors in a single visit.
Pre-Winter and Post-Winter Deep Checks
The two bookends of the year are where the checklist earns its keep. Here’s what each of them involves.
Late October / Early November
- Condition or replace the bottom seal. A hard seal is the number one cause of a forced-open door tearing the cable off its drum.
- Clean the bottom roller cups and track bottoms of accumulated grit from summer and fall storms.
- Lubricate the spring, hinges, bearing plates and rollers with the split from the lubrication section.
- Run the five-point safety test and record any failures.
- Inspect the torsion spring for pitting and note the paint marks so the technician has the reference if a replacement is needed.
- Confirm the photo-eye lenses are clean and aligned for winter.
Mid-March / Early April
- Clear the track bottoms of grit and salt that accumulated over winter.
- Re-check the seal for tears from ice and cold; replace if it’s begun to split.
- Balance-test the door now that the seal has warmed up (a door that failed the balance test in winter often passes in spring, or reveals a real tension issue).
- Re-lubricate the moving parts and confirm the opener’s force settings are correct for warm-weather operation.
- Re-run the full five-point safety test.
If you invest in a new door or a full replacement, the same annual rhythm applies. Our garage door installation technicians set everything up with a maintenance plan in mind, and the pre-winter pass is the single most important item for any newly installed door.
Common Mistakes to Avoid
We see the same handful of mistakes on Logan Square doors over and over, and each of them makes a repair more likely rather than less.
- Lubricating the bottom seal. Two sentences back we covered it, and it bears repeating – a greased rubber seal becomes a grit magnet and tears in cold weather. Condition it with silicone, don’t grease it.
- Spraying cleaner onto the photo-eye lenses. The lens collects dust, the homeowner sprays it with a household cleaner, and the opener now thinks something is blocking the beam. Wipe dry, don’t spray.
- Ignoring rust pitting on the spring because the door still opens. A pitted spring can lift for weeks before it snaps. It’s not a matter of if, only when – and it will usually be on the coldest morning of the year.
- Forcing a hardened seal open in cold weather. This is the single most common cause of a torn cable and drum failure in January. If your door won’t lift, disconnect the opener and stop – don’t push.
- Skipping the alley grit cleanup. A suburban checklist won’t mention it, but in Logan Square the bottom roller cups fill up with gravel several times a year. Clean them.
- Adjusting spring tension at home. Torsion springs store enough energy to cause serious injury if worked on incorrectly. Adjusting the wind on a torsion spring is a job for a trained technician.
- Using the door as a step or a storage rack. Hanging bikes and boxes from the door or the opener track loads a mechanism that wasn’t designed for it. The track bows and the opener works harder.
When to Call a Professional
Some tasks are DIY-appropriate: cleaning grit, lubricating moving parts, conditioning the seal, running the safety test. Others should always be a phone call. Call a trained technician if you find a torsion spring with pitting or a broken coil; if the door fails the balance test and drifts up or down when you let go; if any door reverses only intermittently or fails the auto-reverse test; if you hear a cable that has jumped its drum or a door that lifts unevenly; or if your opener runs without moving the door and you’ve confirmed the remote and wall control are both working. A torsion spring under load is not something to inspect closely enough to touch, and the resulting repair is not something to attempt alone.
Garage Door Repair Logan Square offers free estimates in Logan Square – call (866) 650-1667. Our technicians have up to 13 years of experience and are trained specifically for high-tension spring work. We answer 24/7. Fast dispatch from 7am to 7pm, Sunday through Friday, and the price is set per job by the written estimate before any work starts.
Frequently Asked Questions
Run a five-point safety test once a month and a full deep check twice a year – late October and mid-March. Chicago’s freeze-thaw cycling puts the most stress on the door from November through March, and the pre-winter and post-winter passes catch most issues before they cause a failure. Call (866) 650-1667 if you want an inspection scheduled.
The single most common failure is a bottom weather seal that hardened in the fall and tore the cable off its drum when the door was forced open on a cold morning. It’s directly tied to Logan Square’s freeze-thaw cycling and it’s preventable with an October seal check. Call (866) 650-1667 if your door won’t lift after a cold night.
You can apply silicone spray to the surface of a torsion spring from a distance, but you should never work the spring itself, adjust its wind, or apply any tool to a spring that’s under load. Pitting, broken coils, or a failed balance test are all calls for a technician. Call (866) 650-1667 for an inspection.
Never lubricate the bottom weather seal or the photo-eye lenses. The seal needs silicone conditioning or replacement, not grease, and the lens needs a dry wipe. Lubricating either one causes more problems than it prevents, and both are common causes of a door that stops working. Call (866) 650-1667 if you’re unsure about a part.
Look for rust pitting along the coil, gaps between coils when the door is closed, a spring that looks stretched, or a door that’s become noticeably heavier to lift by hand. Any of these means a trained technician should look at it before the spring snaps. Call (866) 650-1667 for a free estimate on replacement.
It does. Alley grit – gravel, plow debris, storm runoff – collects in the bottom roller cups and track bottoms in a way that paved suburban driveways don’t. Check and clear those spots at least once a month, and again after any major storm. Call (866) 650-1667 if you hear grinding or the door is binding.
Logan Square’s housing stock includes a lot of homes built and renovated across several decades, and LiftMaster and Chamberlain units are among the most commonly installed opener brands in that stock. We service those along with Genie, Craftsman, Raynor, and Clopay doors, so the brand you already own is the one we know. Call (866) 650-1667 if your opener is misbehaving.
Check the remote battery first, then re-pair the remote to the opener. If neither the remote nor the wall control works, the safety sensors or a logic board fault is more likely, and that’s a technician’s call. Call (866) 650-1667 and we’ll diagnose it in one visit.
Yes. Our garage door installation team handles full replacement when a repair isn’t the right answer, on Clopay, Amarr, Wayne Dalton, and Raynor doors. Call (866) 650-1667 for a free measure and a written price before any work starts.
There’s no annual fee and no maintenance plan – we set every price per job by a written estimate, and estimates are free. A free estimate tells you whether a small repair will do or whether a bigger fix is needed. Call (866) 650-1667 to schedule one.
The Bottom Line
Logan Square garage doors don’t fail because of bad luck. They fail because of three things this checklist can address: hardened bottom seals from Chicago freeze-thaw, alley grit packed into the bottom rollers, and torsion springs that were pitted long before they snapped. Run the five-point safety test monthly, do the pre-winter pass in late October and the post-winter pass in March, split your lubrication correctly between lithium grease and silicone spray, and keep the seal and photo-eyes off the grease list entirely. That’s a few hours a year against a repair that would’ve cost you a morning with a car stuck inside.
If your door has already started to fail – a seized seal, a noisy opener, a spring that looks like it’s on its last legs – we’d rather look at it now than wait for the coldest morning of the season. Call (866) 650-1667 for a free estimate. We work on the brand you already own, we bring the part, and we do the repair. Springs, openers, panels, and full installs – one call covers it. We answer 24/7. Fast dispatch from 7am to 7pm, Sunday through Friday.
Written by the team at Garage Door Repair Logan Square.
See the difference
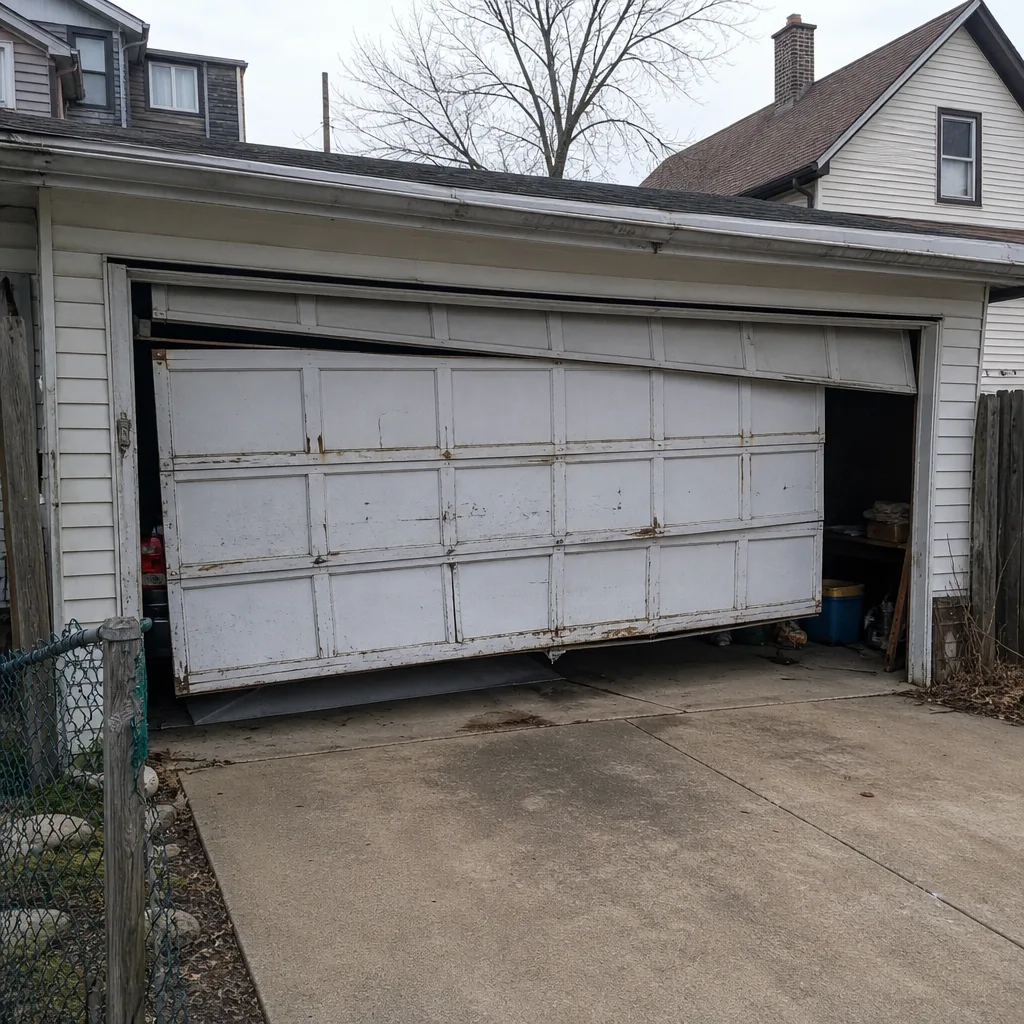 Before
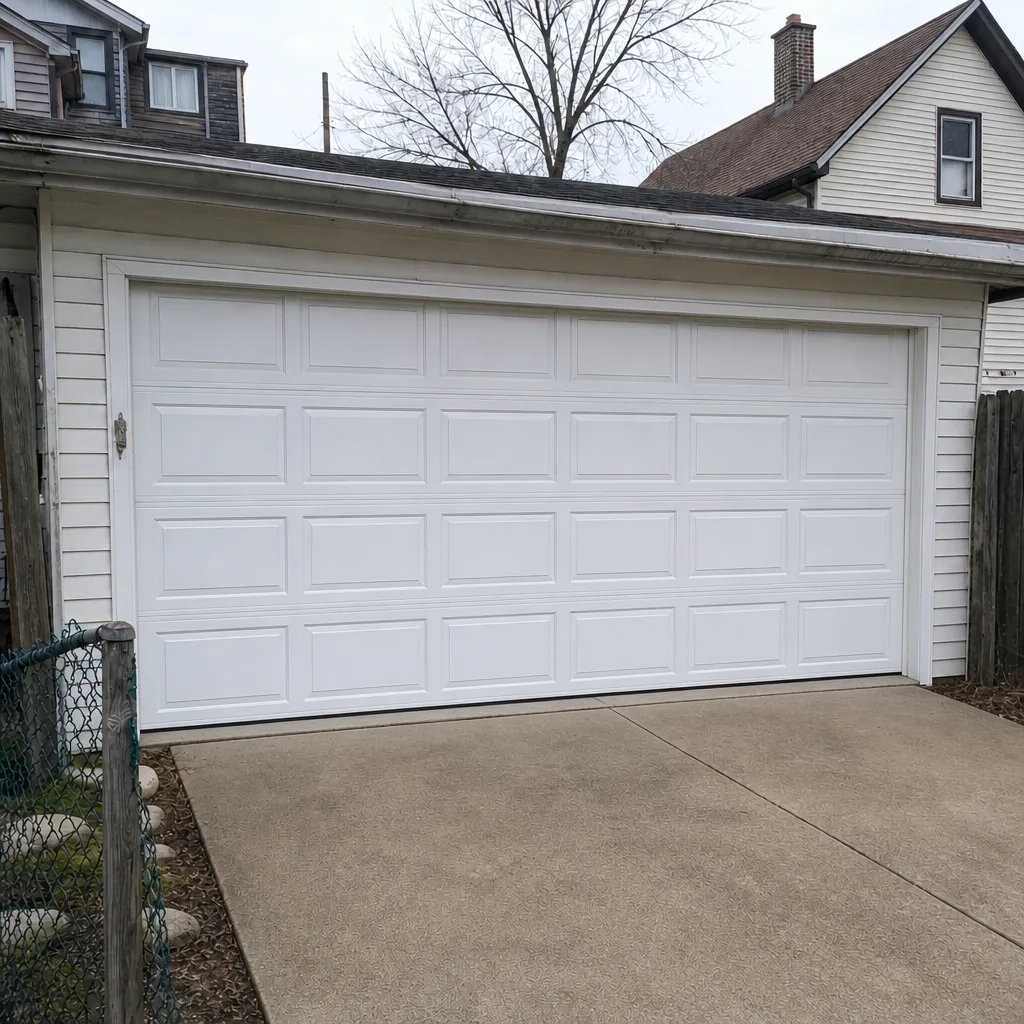 After
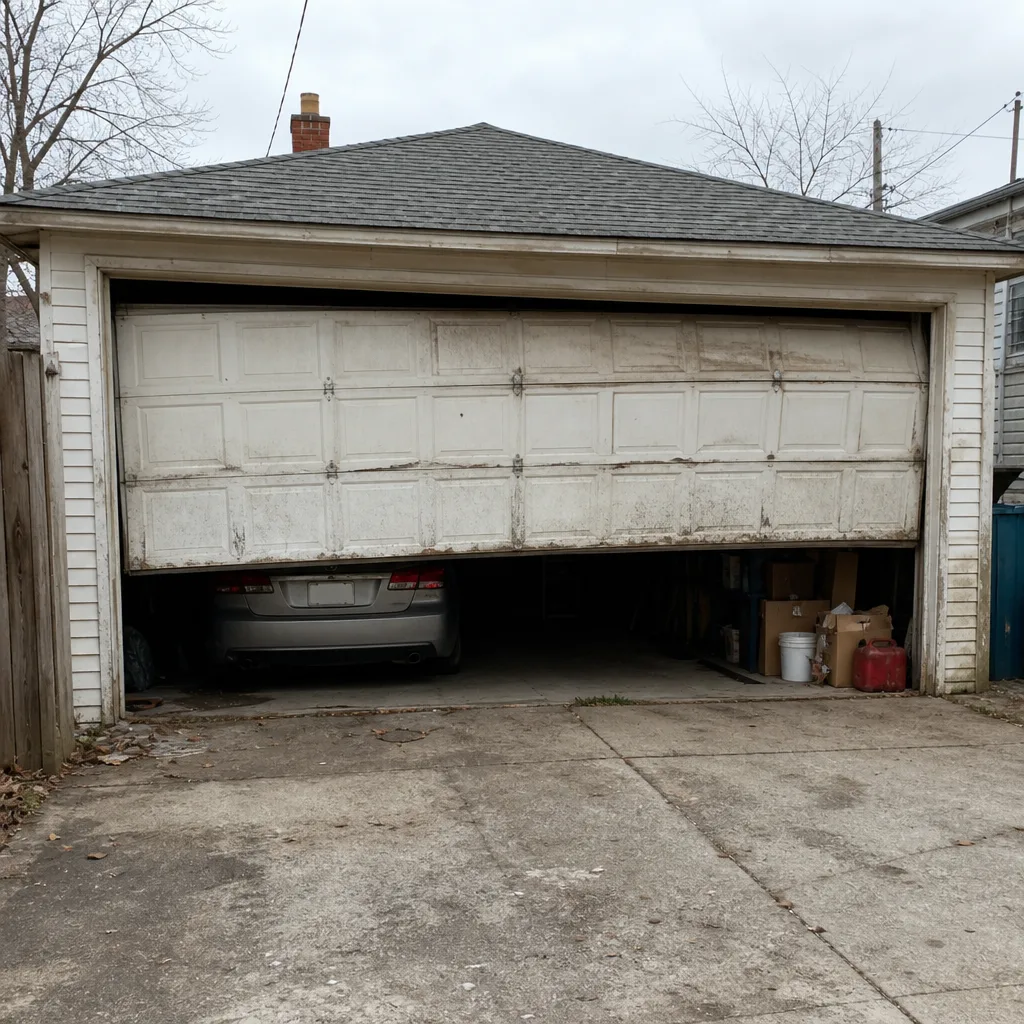 Before
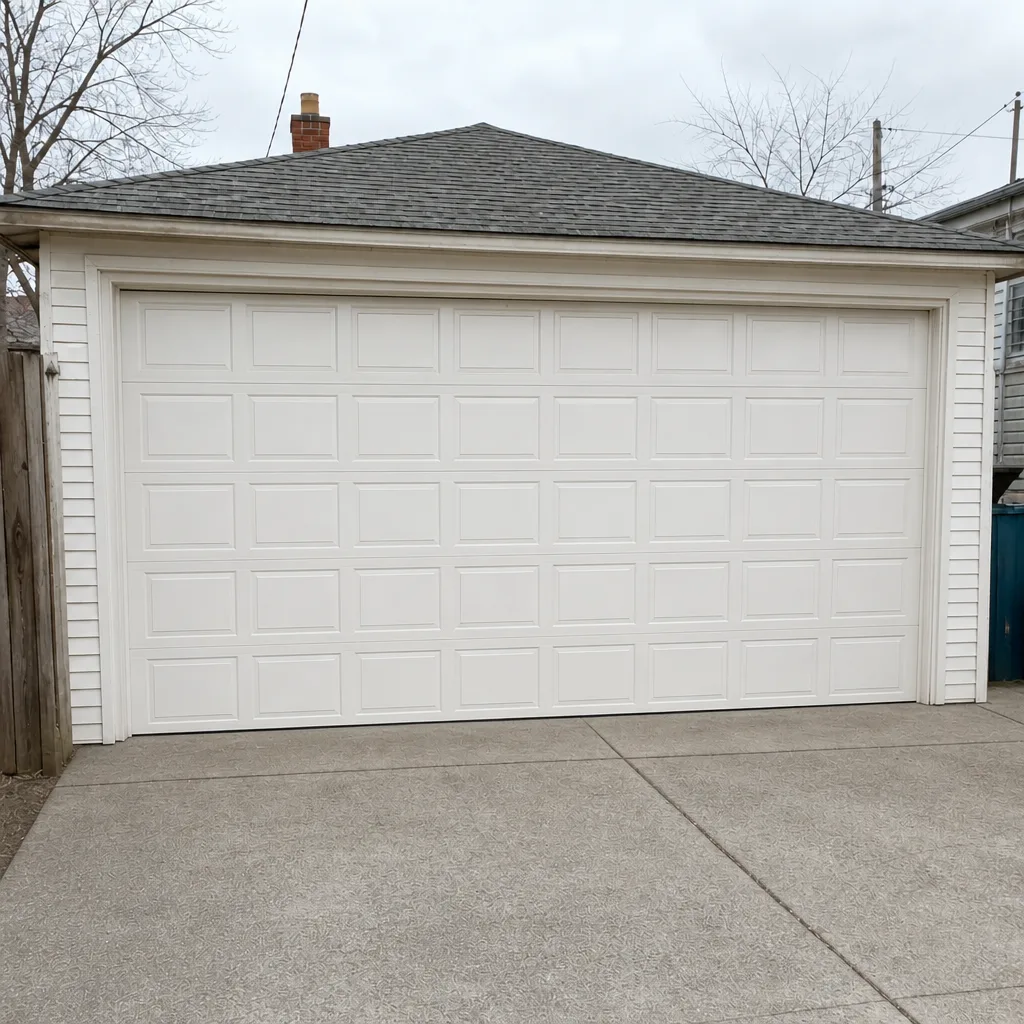 After
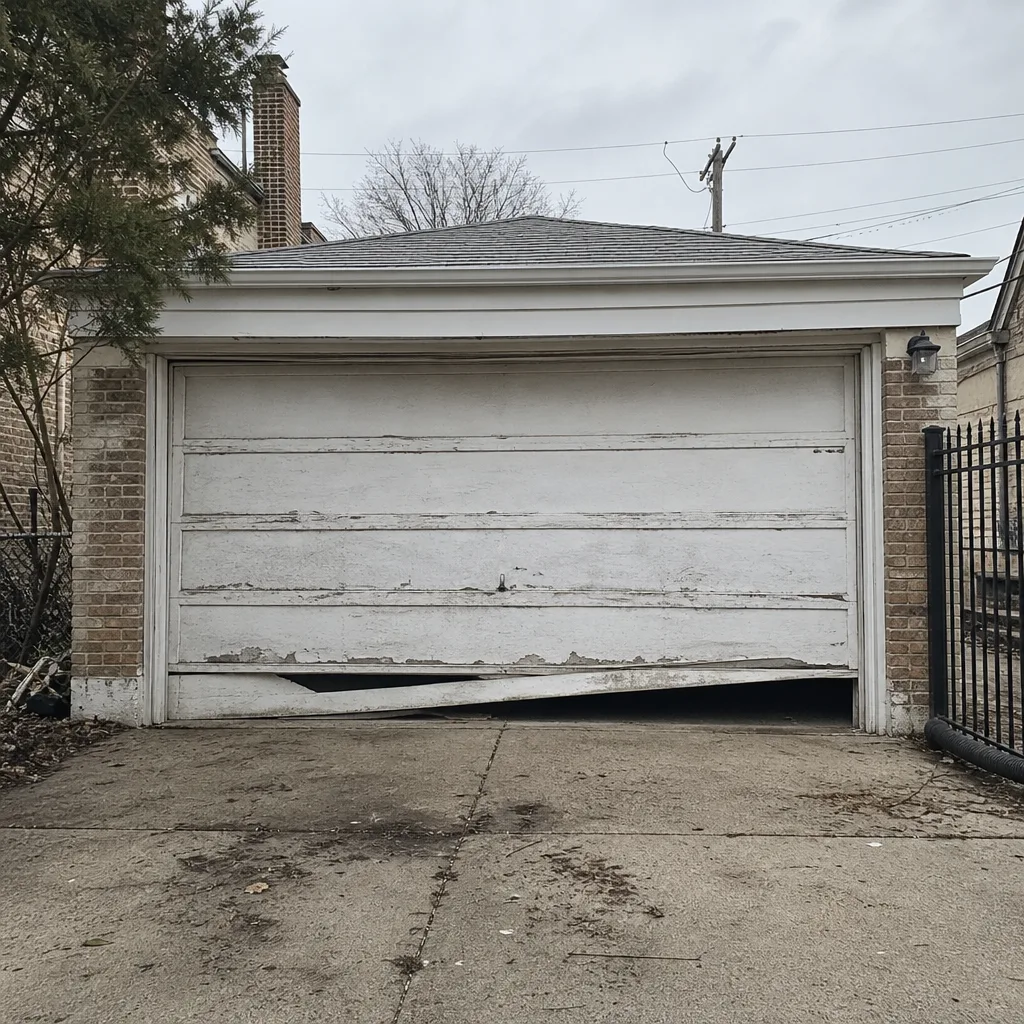 Before
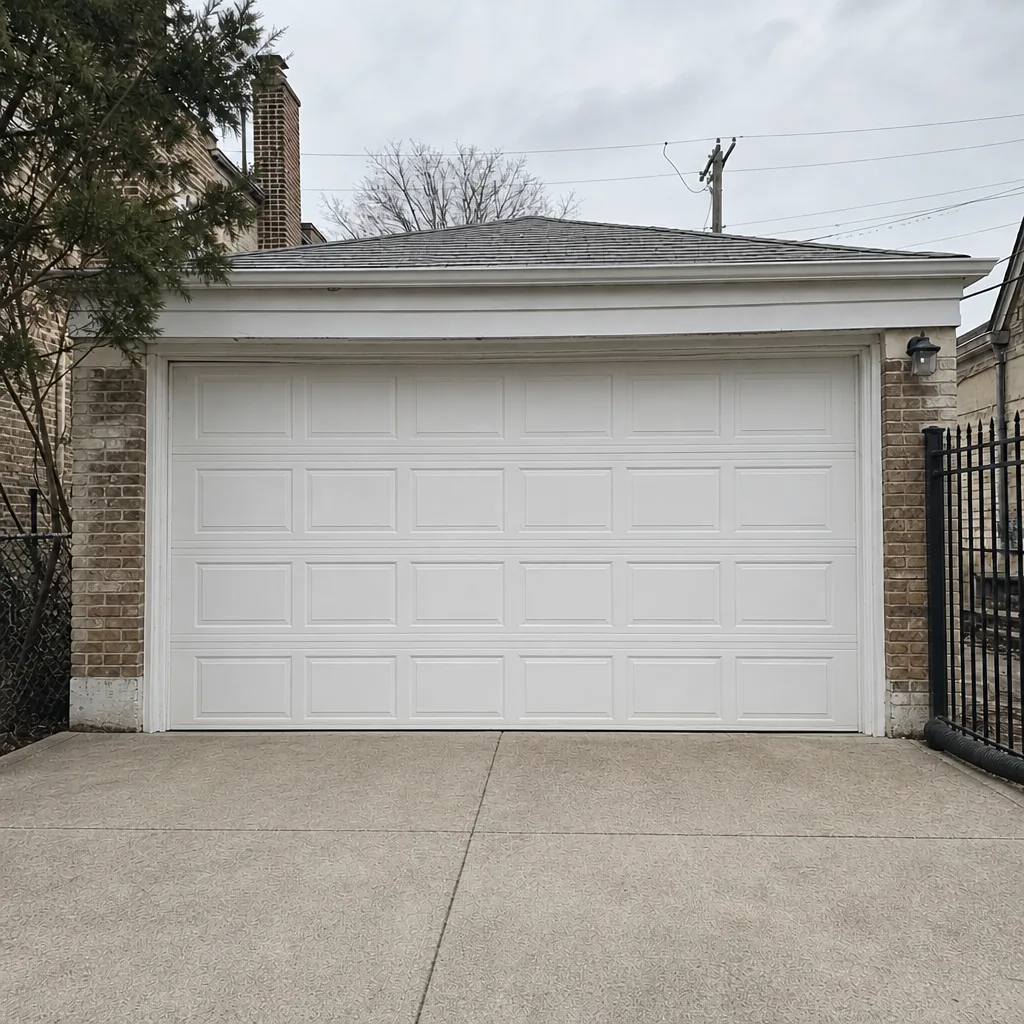 After